DrawerEnvy
Modular Magnetic Organization
✦ Pre-launch — the design studio is open
Design the perfect drawer for your home.
Let us build it.
DrawerEnvy isn't open to the public just yet — but the configurator is live. Sign in or create an account to start designing your custom, made-to-fit drawer organizer today.
New here? See how it's made — solid wood, magnets & AI →
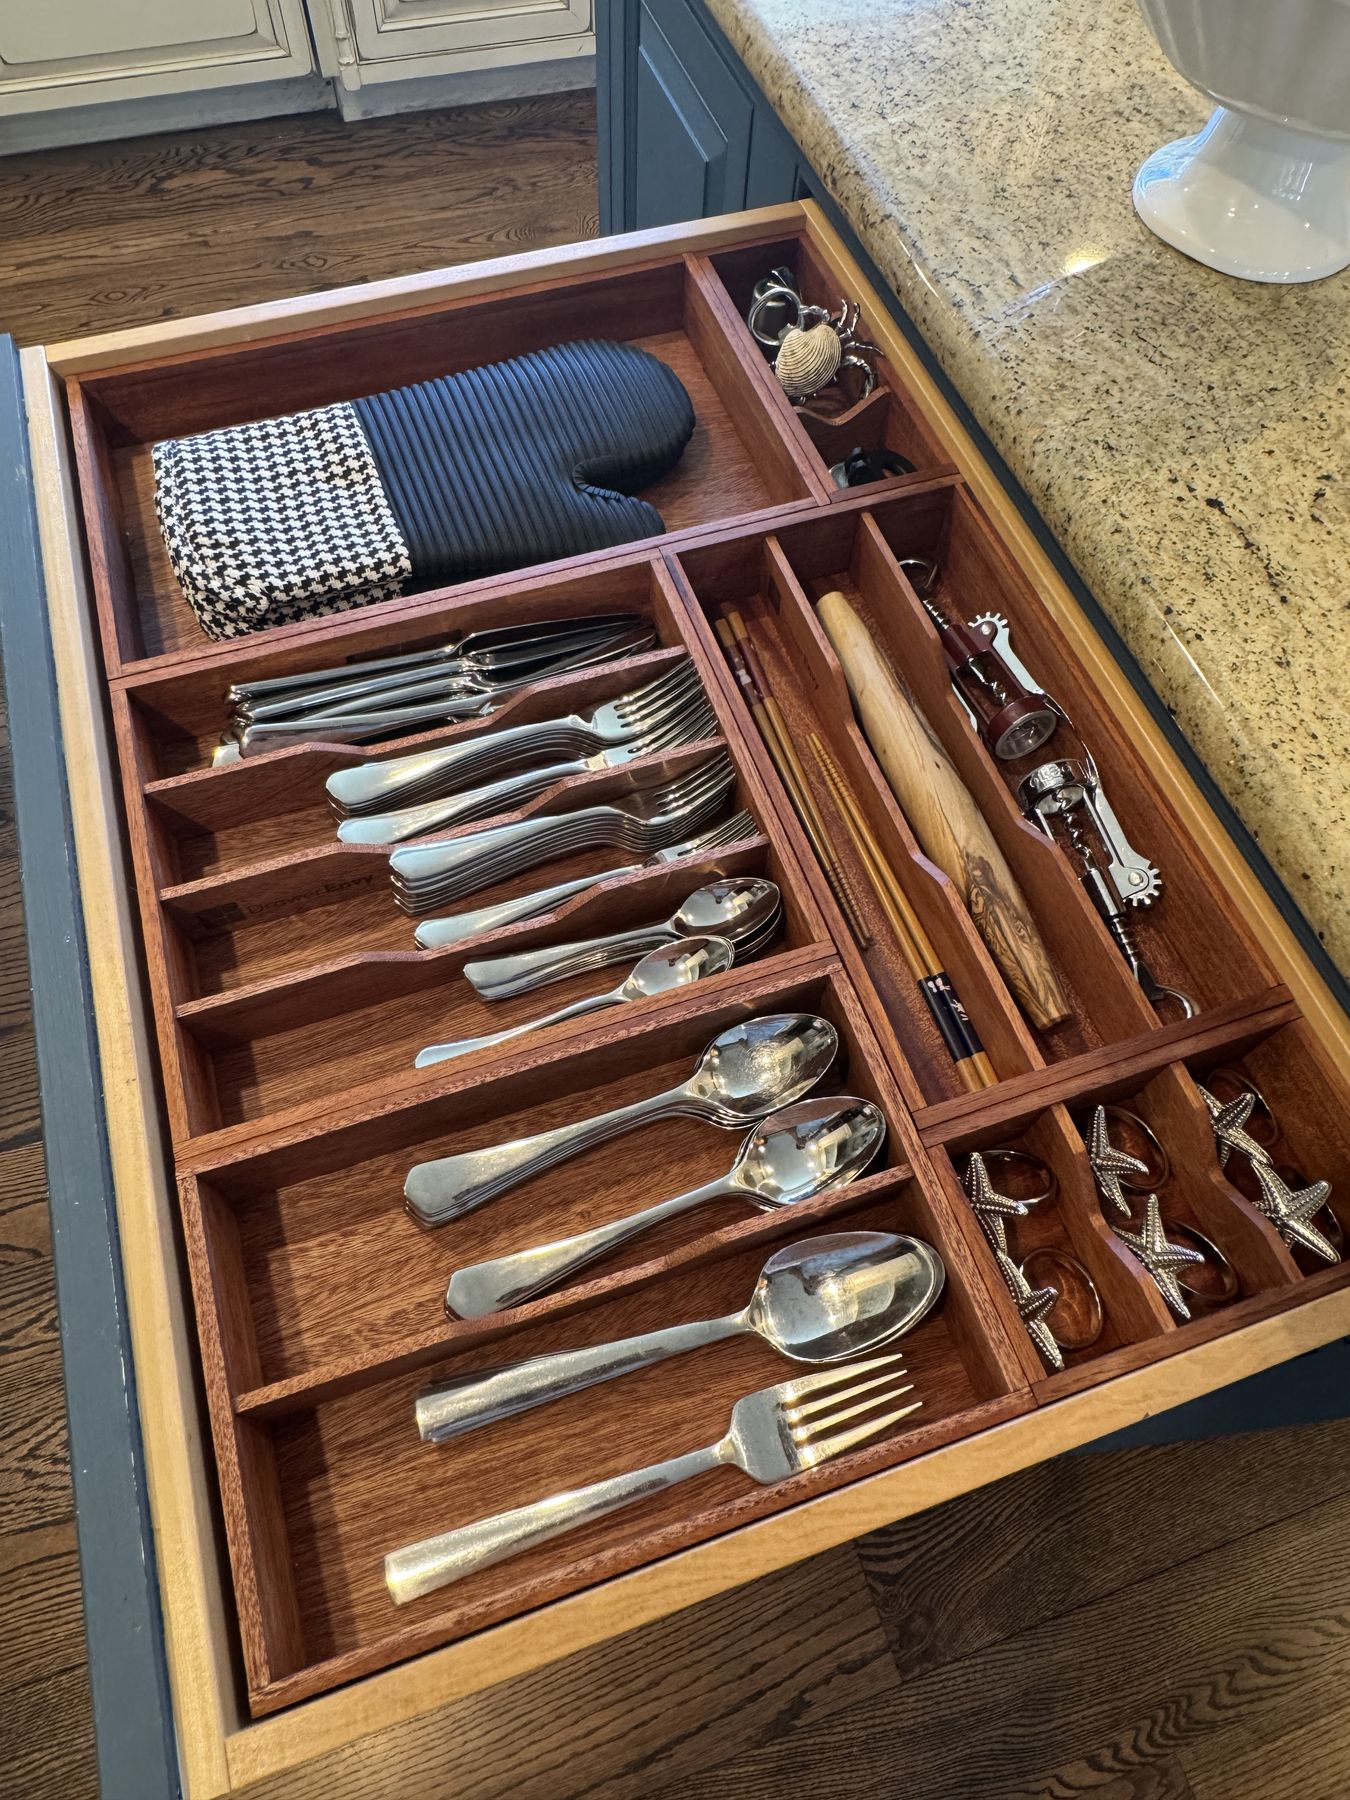
See the gallery — real drawer organizers we've built →
Our snap-a-photo design process and modular magnetic connection system are patent pending.
Measure & describe your drawer
The inside size of your drawer is the only measuring you'll do — we design an organizer cut to fit it exactly.
This drawer is for my…
Your wood
Your drawer size
Units
in
in
in
Size ranges are provisional, pending our final catalog.
0/500
Photos (optional)
Snap your drawer with everything still inside — a photo lets us confirm it all fits.
or drag photos here · JPEG, PNG, WebP
How to measure your drawer
It takes about two minutes and a tape measure. The one rule: measure the inside of the drawer — the usable opening where the organizer sits — not the cabinet face or the outside of the drawer. A careful measurement is the whole game.
Give us the EXACT inside dimensions — don't subtract anything. We automatically build your organizer about 1/8″ smaller than the numbers you provide, so it drops right in without forcing. (If you deduct too, it'll end up loose.)
-
1 · Empty it out
Take everything out and give the bottom a quick wipe, so your tape can lie flat against the walls and you can see the corners clearly.
-
2 · Width — left to right
Lay the tape across the inside, wall to wall, near the top edge. Read the distance between the inside faces of the two side walls.
-
3 · Depth — front to back
Measure from the inside of the front wall to the inside of the back wall, keeping the tape flat on the bottom and square to the sides.
-
4 · Height — bottom to top
Stand the tape up from the drawer bottom to the top of the sides. If anything overhangs the opening (a cabinet rail or a lip), measure to the lowest point a box would have to clear going in.
A few things that make it foolproof
- Don't deduct anything. Enter the exact inside numbers — we size the organizer about 1/8″ smaller for you, so it drops in without forcing.
- Measure twice. If the two readings differ even slightly, use the smaller one.
- Drawers aren't always square. If the width changes front-to-back, use the narrowest spot.
- Inches or centimeters — either is fine; switch units right on the measure screen.
Two things worth noting in your description
- Obstructions inside the drawer. Look for anything that eats into the space — like the screws that hold the drawer front on, a slide bracket, or a back lip. Mention them (and roughly where) so we can design around them.
- How far the drawer pulls out. If the drawer doesn't open all the way — so you can't easily reach the very back — tell us. We can make the back compartments roomier so the utensils or tools back there are still easy to grab.
What's going in the drawer?
Confirm what's going in your drawer and rank it — most important first. Ranking decides what fits and what sits up front.
What's in your drawer?
Tap what you've got — no need to count. We design the compartments; you'll fine‑tune sizes on the next screen.
Don't see something? Tell the assistant above — it'll add it and ask for the size if it needs to.
Your items most important first
Nothing yet — tap the items in your drawer.
What you can change
There are two ways to reshape your design: just describe the change in plain words, or use the manual controls on each box. Here's what both can do.
✨ Edit by asking — type what you want
Type a request and the assistant changes the design for you. Here's everything you can ask, grouped by what it does:
📏 Resize a box
- “make the flatware tray wider” · “make box 3 2 inches deeper”
▦ Compartments & dividers
- “give the tray 5 slots” · “turn the open zone into a 3×2 grid”
- “move the divider in box 2 so slot 2 is 9 inches deep” · “make the first slot 3 inches wide”
- “in box 6 flip the slots so the utensils sit horizontally”
- “make the dividers angled / straight” · “use 4 mm dividers”
- “add a handle to box 3” · “remove the handle from box 5”
➕ Add, combine & remove boxes
- “add a box below box 2” · “split the open zone in two”
- “combine boxes 1 and 2” · “remove box 5”
↔ Rearrange & rename
- “switch box 1 and 7” · “move box 3 to the left of box 5”
- “rename box 8 to Tea Bags” · “rename the 3rd section of box 9 to Whisks”
Changed your mind? Just say “undo” (or “redo”). The wood is chosen earlier, on the photo screen. It only makes changes that keep the drawer exactly filled — if something can't be done, it tells you why and leaves the design as it was.
…or use the manual controls on each box
Every box has its own controls right on the Refine screen — they look like this (the numbers point out what each one does):
- 1 Depth & 2 width — the −/+ steppers resize the box (or drag any wall on the plan); the neighbouring box adjusts so the drawer stays full.
- 3 Across width — adds side-by-side slots (one more divider across the width).
- 4 Along length — adds front-to-back rows; more than one row makes a grid.
- 5 Divider style & thickness — Straight (flat top) or Angled (dipped centre), and 4 mm or 6 mm thick.
- 6 Add a handle — cuts a finger notch so the tray lifts out easily.
Want even finer control? Advanced Edit › on any box opens the full 3D editor.